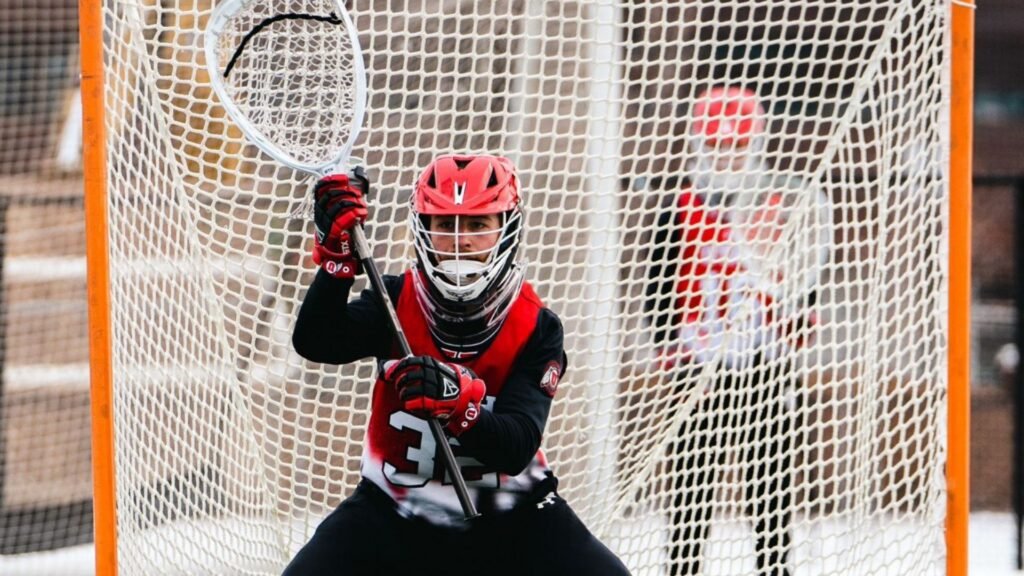
Positioning is a fundamental skill that every lacrosse goalie must master to be successful. It’s about more than just standing in the net; it’s about making the goal appear smaller to the shooter and putting yourself in the best possible place to make a save. This blog post breaks down the core concepts of positioning, from the different arcs to handling dodges and shots on the run.
The Three Arcs
Understanding the three basic arcs is essential for effective positioning:
- Low Arc: In this arc, you play “flat” on the goal line. This gives you a few extra milliseconds to react to a shot and is a great starting point for beginners and advanced goalies alike. The disadvantage is that it may not cover as much of the cage.
- Mid Arc: This is the most common arc, where you stand one step off the goal line. It strikes a balance between reaction time and covering the net, offering a good compromise.
- High Arc: Playing two or three steps off the goal line, you can be intimidating to a shooter because you see less of the cage. The challenge is that it requires excellent footwork and can be difficult to maintain proper positioning. It also gives you less time to react to the shot.
Moving Around the Cage
Regardless of the arc you choose, your hips and feet should always be square to the shooter. The goal is to always present your chest to the shooter, eliminating open spaces. When a shooter is on the top right or top left, avoid moving too far off the goal line with your far-side foot, which can leave a side of the goal wide open.
Dodges and Shots on the Run
For Goalies Under 6’0”
For shots on the run, a key technique is to use “microsteps.” Instead of taking big, slow steps, make small, choppy adjustments to keep yourself aligned with the shooter. This method ensures that your body, particularly your chest, is always pointing directly at the shooter, reducing the chance of an open-net goal.
For Goalies Over 6’0”
For shots on the run, taller goalies can take advantage of their size by getting to the far posts early, utilizing a wider stance taking up the entire goal with their legs. This allows you to stay set throughout the entire dodge while never losing any angle! Adjust your back hips as needed to stay in line with the shooter, but hold this spot until the shooter completes their dodge.
Cone Demonstration
To understand the impact of positioning, try this simple drill:
- Place a cone where a shooter might stand.
- Position yourself in your stance facing the cone.
- Place other cones on either side of the goal, lined up with the pipes from the shooter’s perspective.
- When you’re positioned correctly, you’ll see that there are only a few inches of space visible on either side of the goal. This visual shows how proper positioning physically shrinks the target for the shooter.